Add Store Users
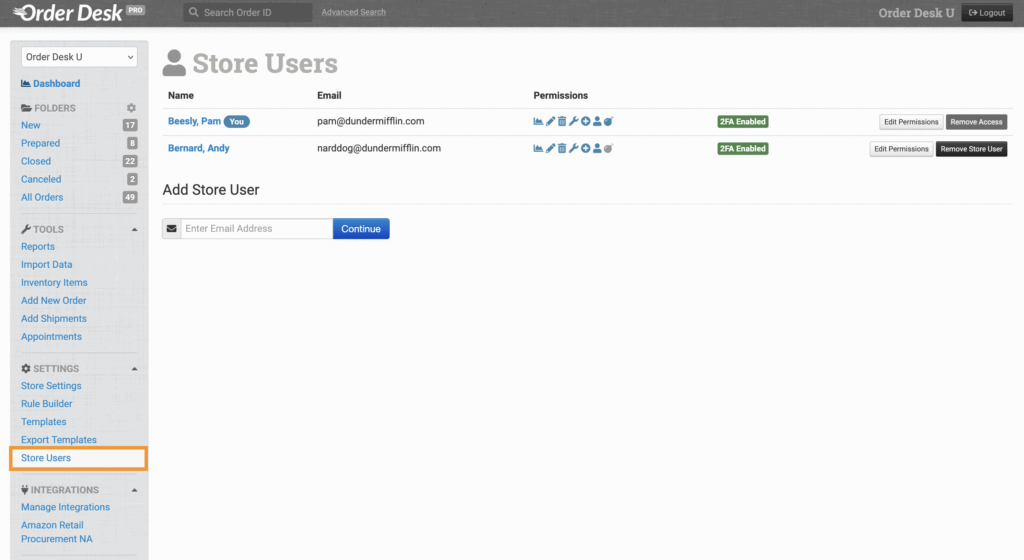
To add a new store user, click on Store Users under Settings in the sidebar.
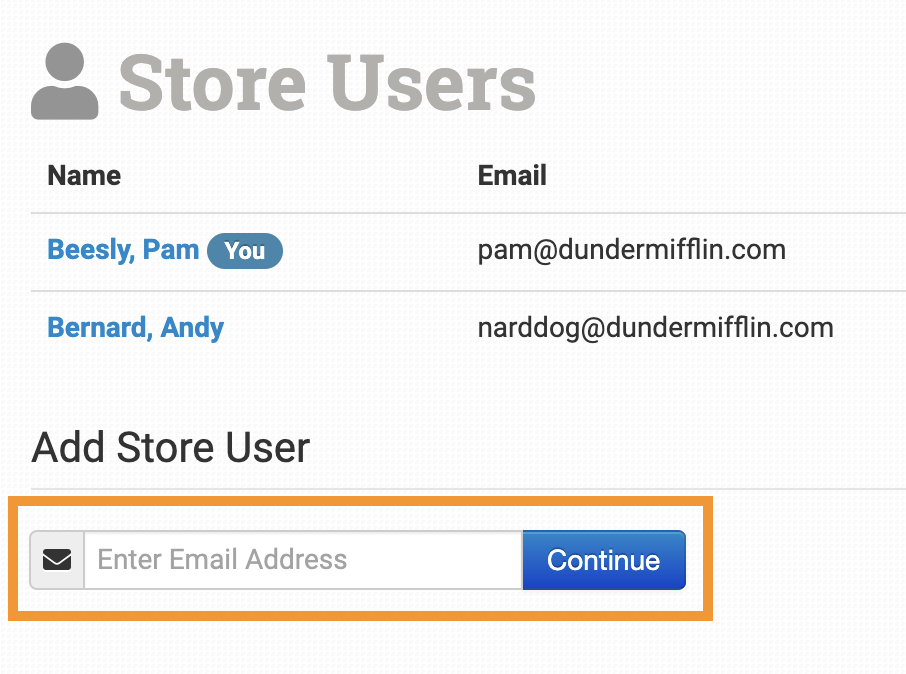
Under Add Store User, enter the email address for the person you want to give access to your store. Click Continue.
Users Who Don’t Already Have an Order Desk Account
If the email address you invite is not already associated with an Order Desk account, you will be taken to the Add User to Store page where you can enter their details and adjust their permissions:
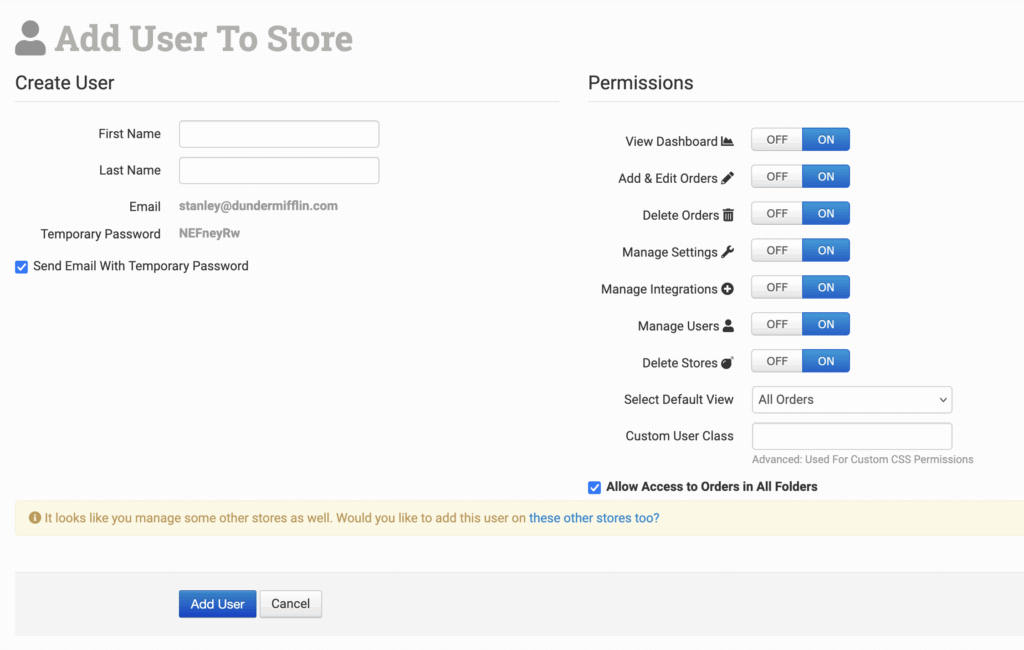
Add the user’s name and make sure their email address is accurate, as this will be their login.
A temporary password will be generated, and you’ll see an option called Send Email With Temporary Password. Keep this option selected if you want Order Desk to send the temporary password to the new user on your behalf, or uncheck it if you want to provide the password to them another way.
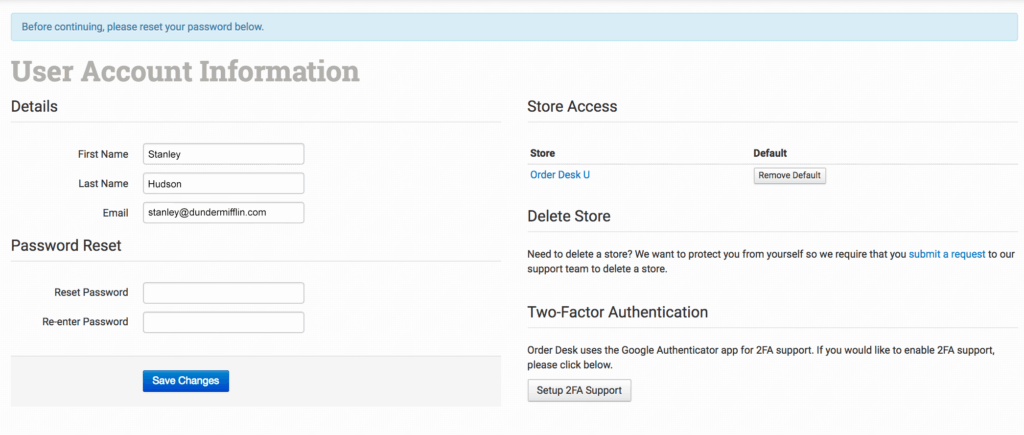
When they first login, they will be prompted to change their password. They can also update their user details, see what stores they have access to, and set up Two-Factor Authentication (2FA).
If for any reason they don’t receive or remember their temporary password, they can request a new password by clicking the Forgot Password? link on the login page and enter the email address associated with their account:
If the email address wasn’t correct, you can remove it from your store and add the correct email address as a new user instead.
Add Users to Multiple Stores
If you need to add a user to multiple stores that you manage, find the yellow banner at the bottom of the Add User to Store page and click the link that says “these other stores too?”

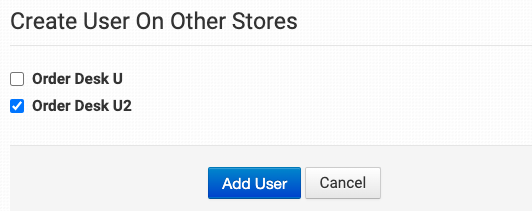
When you click the link, you’ll see an section called Create User On Other Stores. Here, a list of stores associated with your account will be displayed, and you can select which stores you’d like to give them access to, then click Add User once you’re done.
Users Who Already Have an Order Desk Account
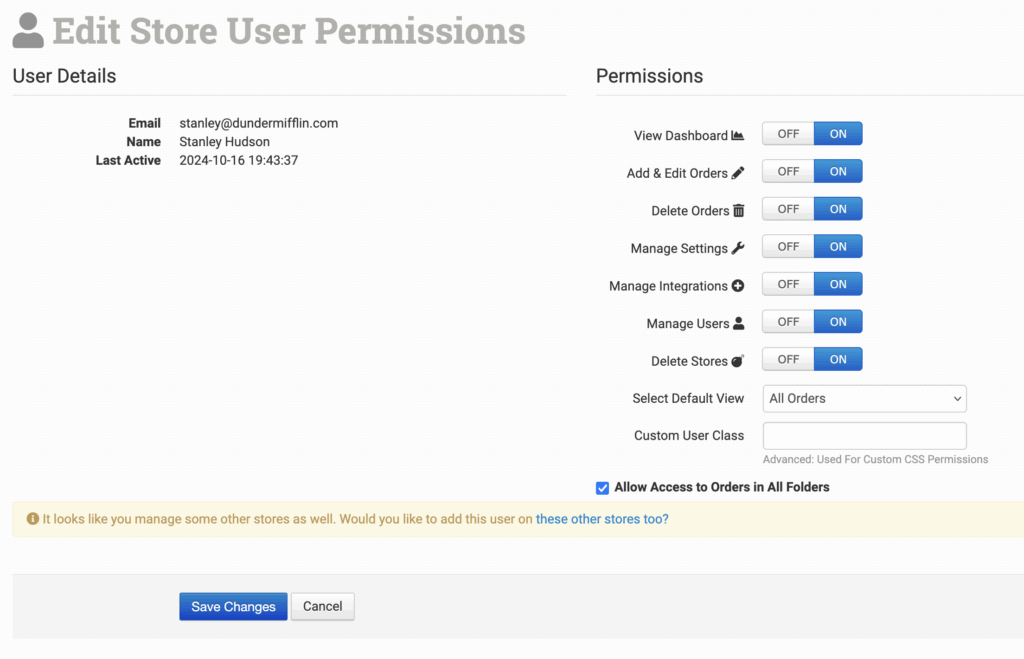
If the email address you add has already been used to create a user account for another store, you will be taken directly to the User Details and Permissions page:
Edit User Permissions
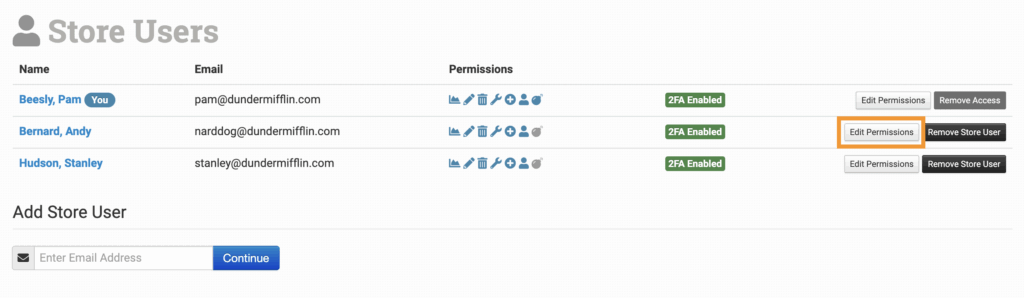
You can edit a user’s permissions from the Add User To Store page in the previous step, or you can adjust them afterward by clicking on Edit Permissions to the right the user on your Store Users page.
All permissions are set to ON by default.

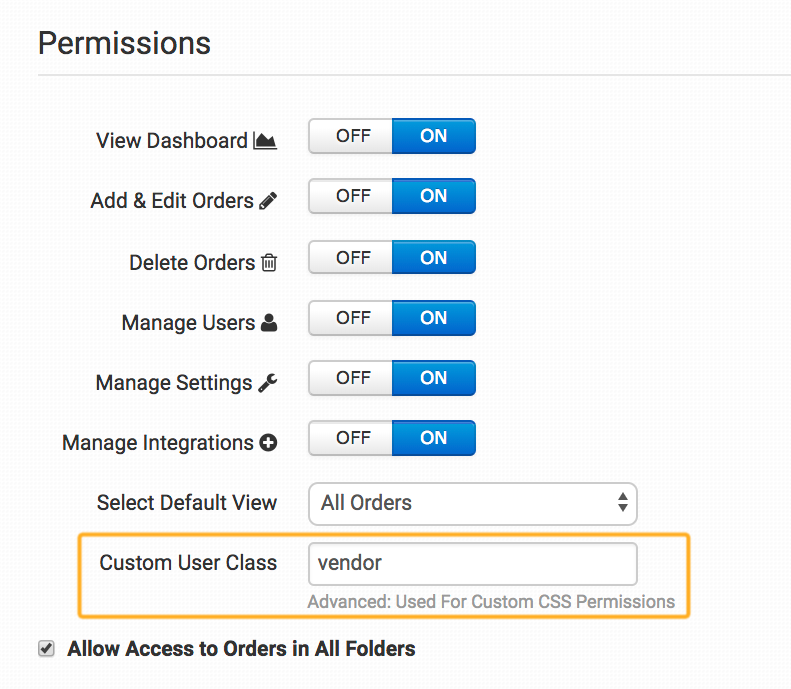
If you are giving a vendor access to your account, you may want to set View Dashboard, Delete Orders, Manage Users, Manage Settings, and Manage Integrations to OFF. With these permissions, they will only able to edit orders in your store.
Can you give someone access to just one folder?
In general, if you don’t want your users to access certain parts of your store or certain information about your orders, it’s recommended that they not have access at all. Try other solutions to get them the information in those folders, like exporting the data to their email.
More Options with Custom CSS
If you want even more control over the views and access your store users have, you can use custom CSS.
To do this, name the Custom User Class for each store user. In this example, we’ll use “vendor” as the custom user class.
To add your custom CSS, navigate to the Store Settings page and click on the Custom CSS tab.
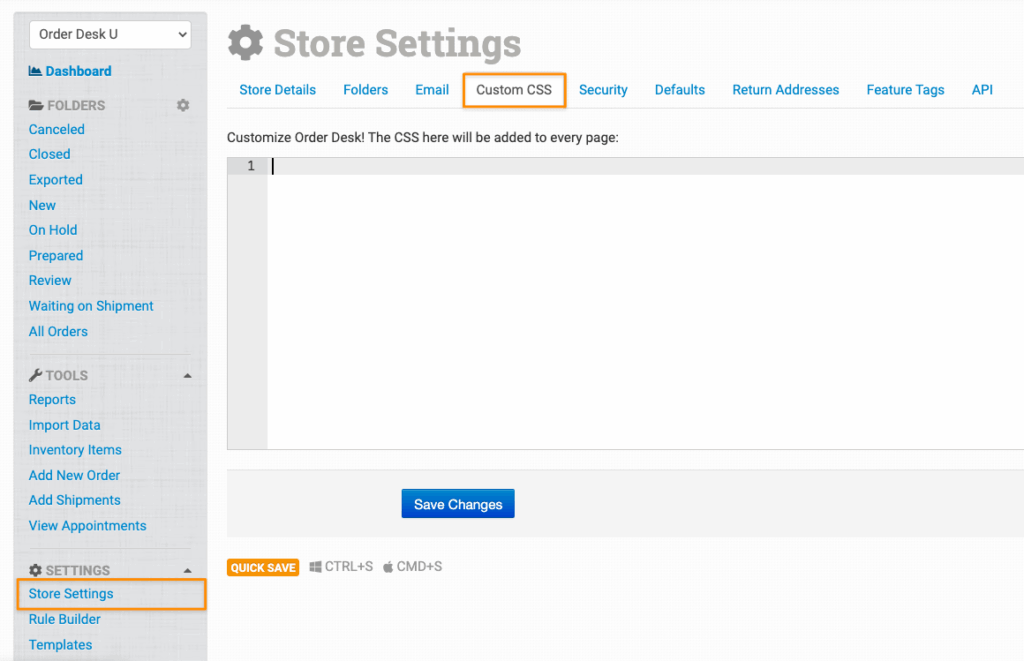
This is where you’ll write the code that address which types of store users can see anything associated with the sample “vendor” custom user class.
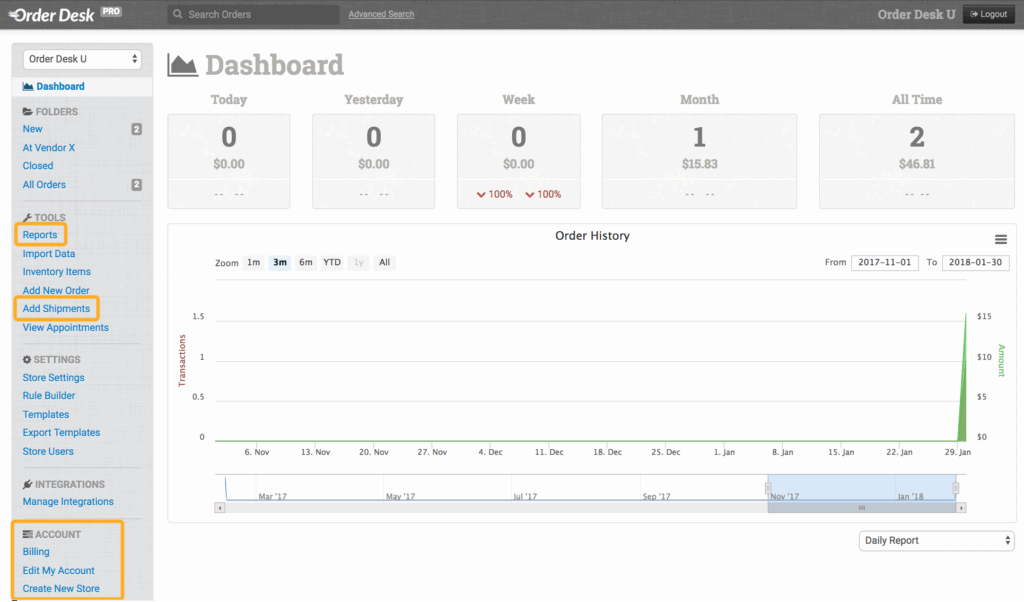
Continuing this example, let’s say that these users should not be able to see the Reports and Add Shipments pages in the Tools menu, nor do we want them to access the entire Account menu:
To block a user’s view of these pages, add the following code to the Custom CSS field in Store Settings:
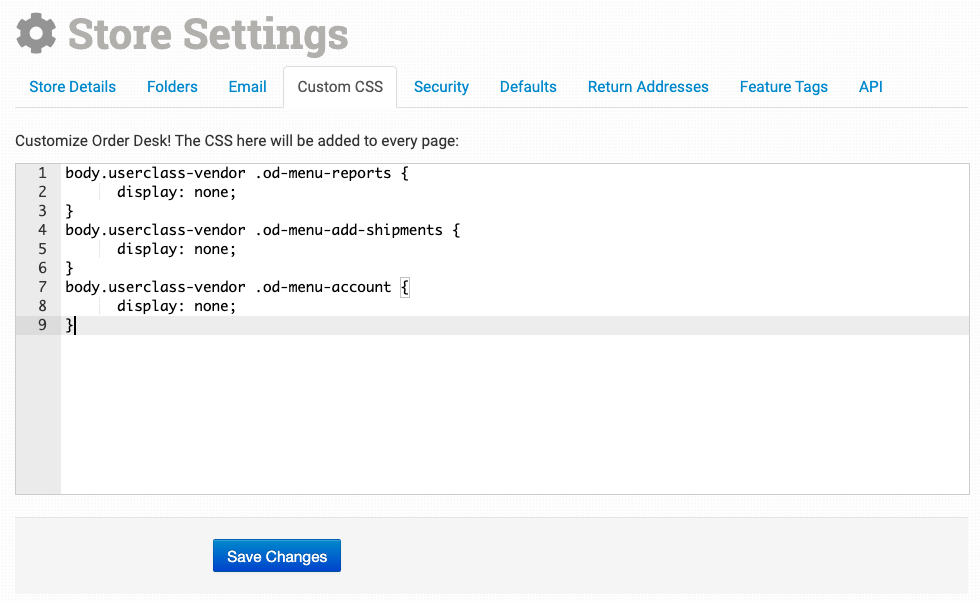
With this code in place, a user with the “vendor” custom user class will have a customized sidebar view when signed into your store.
They will not be able to see Reports or Add Shipments under Tools, nor will they see the entire Account menu:
Please be aware that using CSS to hide certain links from view is doing just that—hiding the link. Any hidden pages can still be accessible to the user if they are comfortable using developer tools in a web browser to view the page’s code.
The only way to fully remove access to certain areas of the app for specified users is to use our built-in permissions.
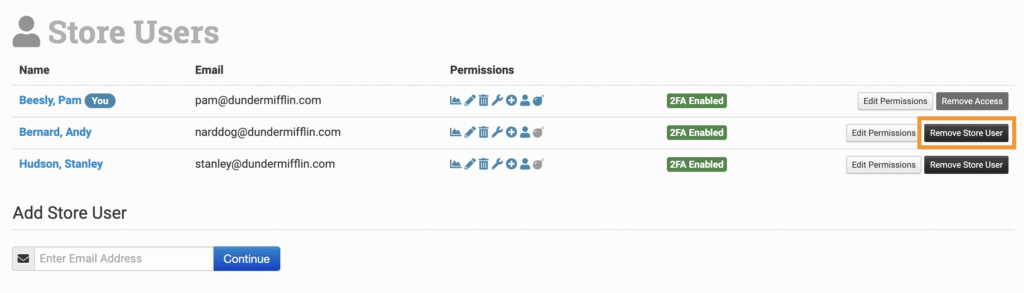
Remove Store Users
From the Store Users page, click on Remove Access next to the user name to remove a user from your store.
How many users can I add to my store?
There currently isn’t a hard limit on the number of users a store can have, however if you’re planning on adding more than a couple dozen, please contact Order Desk support to determine if Order Desk is the right app to meet your needs.