Overview
Order Desk can import orders from your shopping cart(s), sync in your print details and then automatically send them on to Alexander’s Print Advantage for fulfillment. When orders are shipped, the tracking details will be sent back to Order Desk and back to your shopping cart.
This guide explains how to set up and use the Alexander’s integration.
Setup
To connect to Alexander’s, click on the Manage Integrations link under the Integrations menu in the left sidebar, and under the Print on Demand tab find and enable Alexander’s.
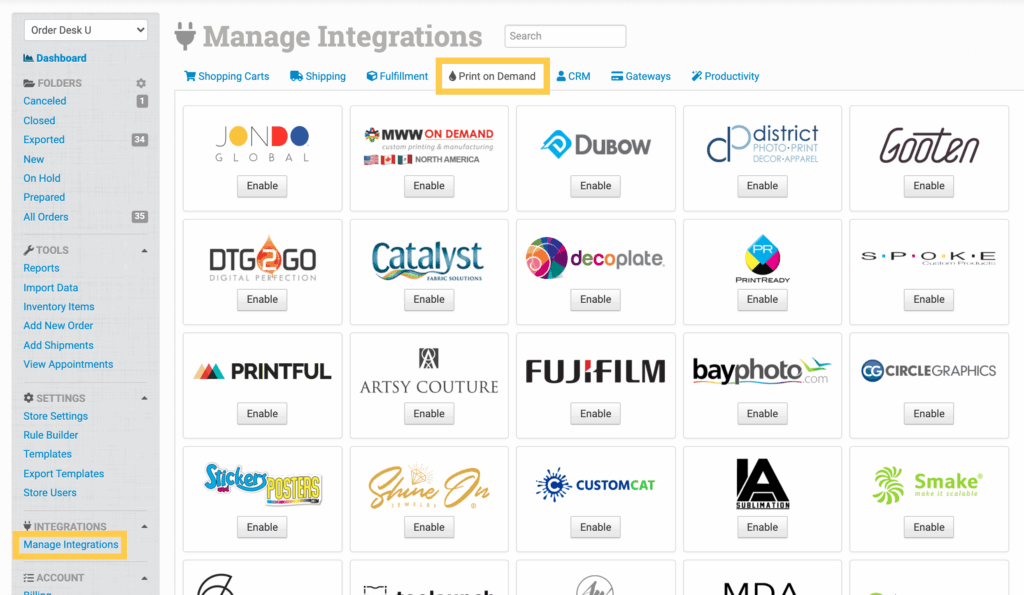
Alternatively, search for Alexander’s from the available integration search.

Copy the provided webhook URL and add it to your account at Alexander’s, then choose either a Production or Staging environment and enter your API Key to complete the connection.
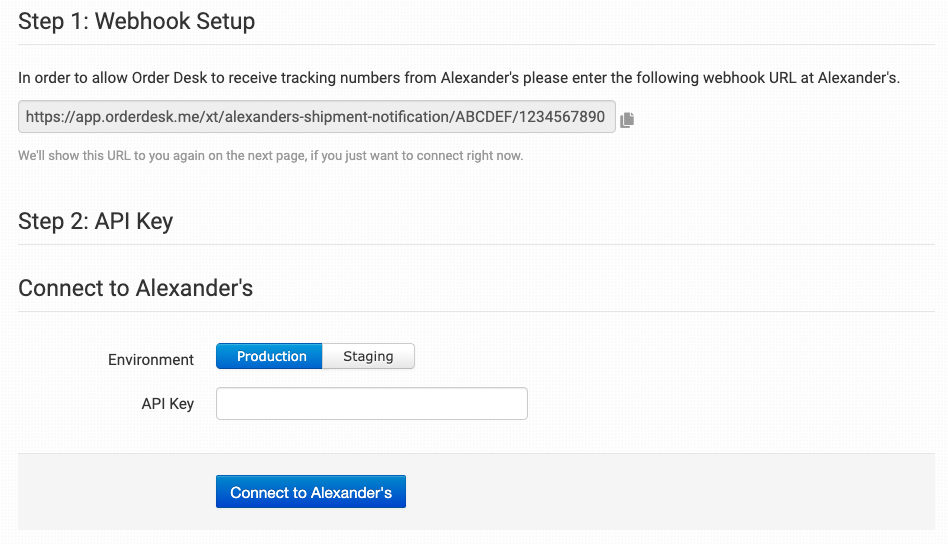
Please note that Order Desk isn’t able to help find or reset your credentials, as they can only be provided by Alexander’s.
Integration Settings
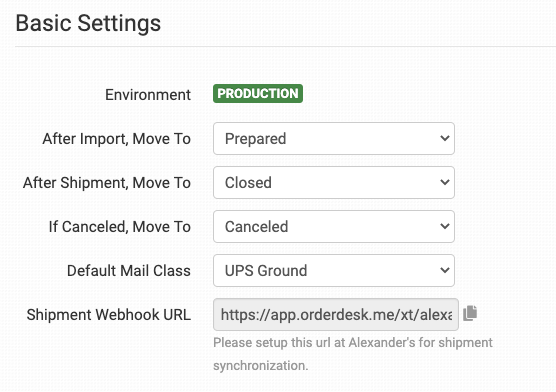
After Import, Move To
Select the folder you want orders to be moved into after they are successfully sent to Alexander’s.
You can use one of the default folders already in your store or create your own. Read the Working with Folders guide for more information.
After Shipment, Move To
Select the folder you want orders to be moved into after Alexander’s sends shipment details back to Order Desk.
If Canceled, Move To
Select the folder you want orders to be moved into if they’re canceled within Alexander’s.
Default Mail Class
Choose the mail class you want Alexander’s to use for your orders.
If you need to apply specific methods for certain orders, match your method names to their names in the Shipping Class Match section below.
Shipment Webhook URL
If you skipped this step when connecting the integration, add this webhook Notification URL to your Alexander’s account. This is necessary for Alexander’s to be able to send shipment notifications back into your orders in Order Desk.
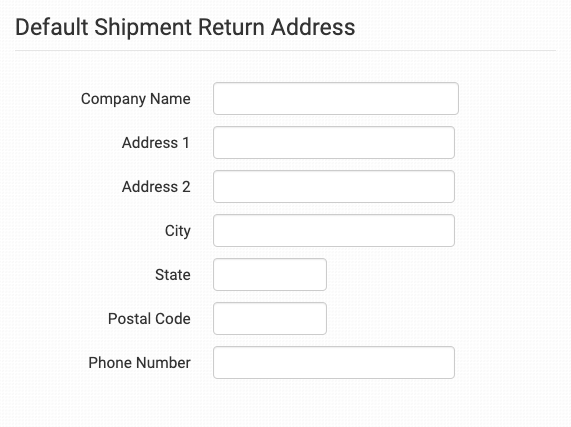
Default Shipment Return Address
Set your default return address for all orders. If a return address has been added to an order, Order Desk will use that address instead. If no phone number is provided, the phone number here will be used.
Product Settings

For more information on what these product settings within the Alexander’s integration are for, please refer to the Print on Demand Product Settings guide.
Shipping Class Match

If the shipping methods you set up in your shopping cart(s) don’t match the shipping method names Alexander’s uses, they won’t know what methods you intend for them to use. When this happens, the default mail class applied above will be used instead for all of your orders.
To tell Alexander’s what methods you want them to use, you will need to match your method names to theirs. This can be done in the shipping class match section. For detailed instructions on setting this up, please read through the shipping class match guide.
Custom Details for Alexander’s
Getting your orders ready to send to Alexander’s will take some set up time. For a detailed walkthrough of how to use Order Desk with your Print on Demand orders, please read through our Print on Demand Fulfillment guide.
Custom Order Details
The following details can be submitted for an order as either checkout data or order metadata.
| Field Name | Field Description |
| rush_order | Set true or false. Default is false. |
| non_billable_reprint | Set true or false. Default is false. |
| shipMethod | Use for undocumented shipping methods if Alexander’s instructs you to. |
If you are unfamiliar with checkout data, see the How to Work with Checkout Data guide.
Custom Item Details
The following fields can be set as variations or item metadata for each item in an order.
| Field Name | Field Description |
| print_sku | Alexander’s SKU field. |
| print_url | Link to your artwork file. Required for all items except inventory. |
| item_type | Set standard, notebook, photobook or inventory. Default is standard. Use the field names listed below for each type. If using inventory, no extra fields are required. |
| bundle_key | Use when two items need to be bundled together (e.g. items with special gift wrap). |
For standard item_types, use the following fields:
| Field Name | Field Description |
| foil_color | Set gold, rosegold or silver. |
| foil_url | Link to the artwork file for the foil design. |
| width | Width of print. |
| height | Height of print. |
| duplex | Set true or false. Default is false. |
| mime_type | Default is application/pdf. |
| back_url | Use to set url for print on back of item. |
For notebook item_types, use the following fields:
| Field Name | Field Description |
| page_style | Set white, kraft, black or lined. |
| foil_url | Link to the artwork file for the foil design. |
| foil_color | Set gold, rosegold or silver. |
For photobook item_types, use the following fields:
| Field Name | Field Description |
| print_url | The artwork file used for the coverURL field. |
| guts_url | Artwork for the inside print. |
| foil_url | Link to the artwork file for the foil design. |
| foil_color | Set gold, rosegold or silver. |
| attribute_key_x | Sets an attribute name (e.g. size, color) that corresponds to attribute_value_x. Up to 6 available. |
| attribute_value_x | Sets an attribute value (e.g. M, black) that corresponds to attribute_key_x. Up to 6 available. |
| GutsMedia | Sets the media used for the interior pages of the product. Only for use if Alexander’s instructs you to. |
| CoverMedia | Sets the media for the product cover. Only for use if Alexander’s instructs you to. |