Order Desk can import orders from your shopping cart(s), sync in your print details and then automatically send them on to Pronto POD for fulfillment. When orders are shipped, the tracking details will be sent back to Order Desk automatically.
This guide will go over the Pronto POD integration settings and features. For thorough details on how to work with your print on demand orders in Order Desk, please read through the Print on Demand Fulfillment guide.
Setup
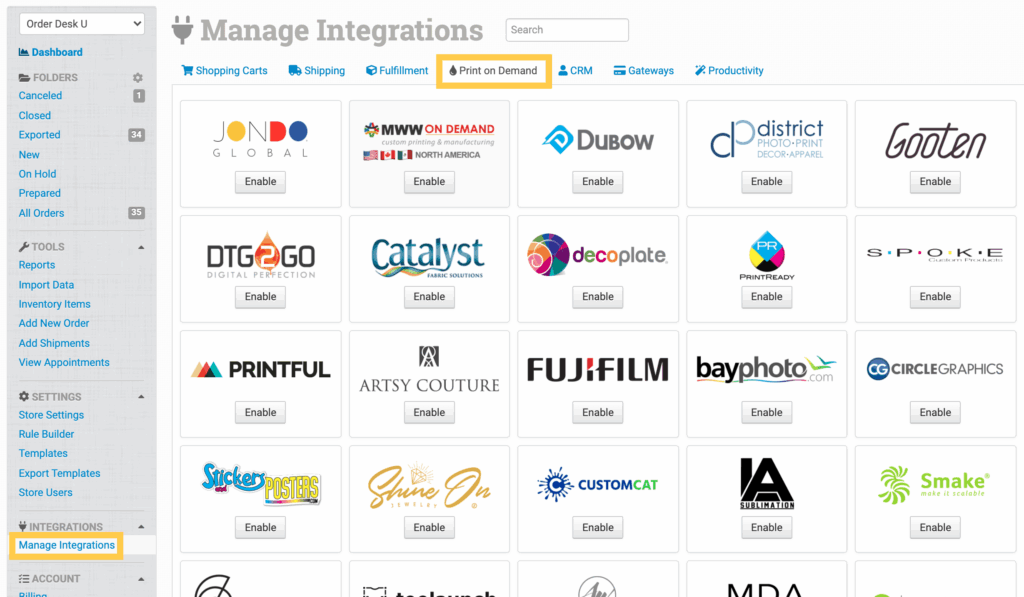
To connect to Pronto POD, click on the Manage Integrations link in the left sidebar. Under the Print on Demand tab find and enable Pronto POD.
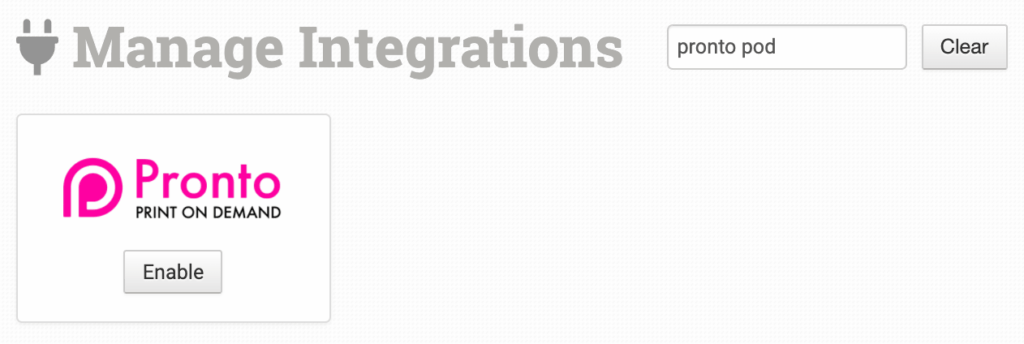
Alternatively, search for Pronto POD from the available integration search.
When you receive your API connection details from Pronto POD, enter them in Order Desk.
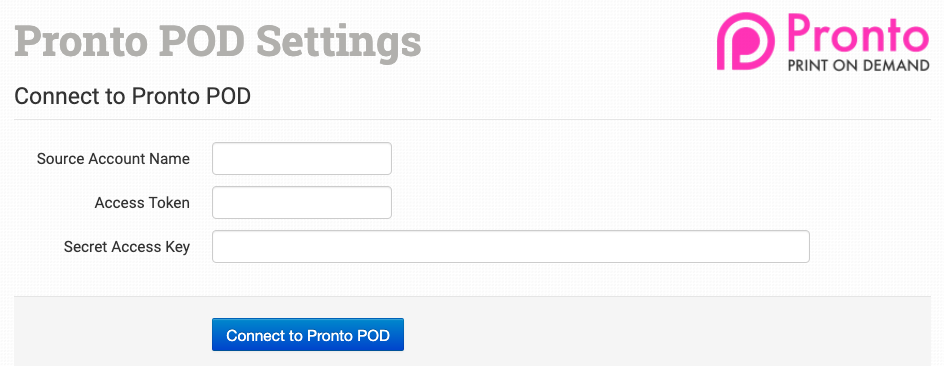
Please note that Order Desk isn’t able to help find or reset your credentials, as they can only be provided by Pronto POD.
Basic Settings
Once you have successfully connected to the Pronto POD integration, you will have some settings to go through to add your preferences.
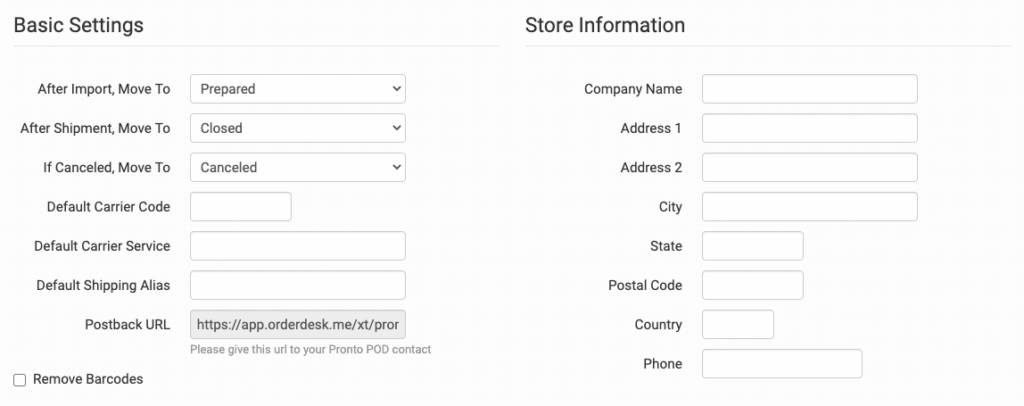
After Import, Move To
Select the folder you want orders to be moved into after they are successfully sent to Pronto POD.
You can use one of the default folders already in your store or create your own. Read the Working with Folders guide for more information.
After Shipment, Move To
Select the folder you want orders to be moved into when Pronto POD sends tracking details back.
If Canceled, Move To
Select the folder you want orders to be moved into if they are canceled at Pronto POD.
Default Carrier Code
Enter the default carrier code you want to use for your orders. This will be sent as a field to Pronto POD.
Default Carrier Service
Enter the default carrier service you want to use for your orders. This will be sent as a field to Pronto POD.
Postback URL
Give this URL to Pronto POD. They will use it to connect to your Order Desk account and send shipment details back to your orders automatically.
Remove Barcodes
If there are barcodes on your order that you don’t want to be sent to Pronto POD, select this option to remove barcodes.
Store Information
Enter the address and contact information for your store.
Product Settings
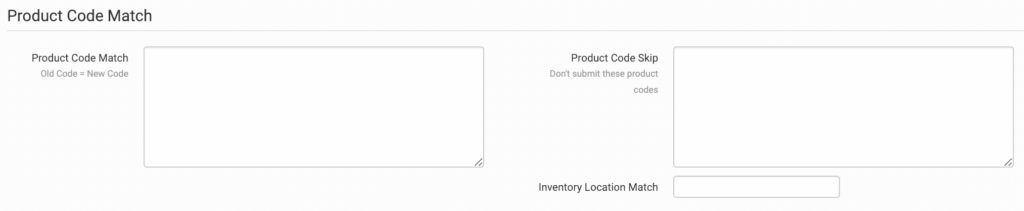
For more information on what the product settings within the Pronto POD integration do, please read the Print on Demand Product Settings guide.
Sending Orders to Pronto POD
Getting your orders ready to send to Pronto POD will take some set up time. For a detailed walkthrough of how to use Order Desk with your Print on Demand orders, please read through our Print on Demand Fulfillment guide.
Preparing Your Orders
The following fields can be set as checkout data or order metadata to change what is sent to your printer for a specific order:
| Field Name | Field Description |
| PackingSlip | The URL of the PDF to be printed and included with the shipment. Details here. |
| MISCode | Field for storing MIS customer ID. |
| PrintType | Default to digital. Options are: digital or litho. |
| PONumber | Customer PO Number. |
| AdditionalInformation | Any information to be passed into the Additional Information field. |
| ShippingAlias | The shipping alias as supplied by your printer if different from the default. Will be used in preference to carrier code/service. |
| CarrierCode | The name for the carrier if different from the default. |
| CarrierService | The name for the carrier service if different from the default. |
| Tags | Enter a tag or tags for the order. Multiple tags should be separated by comma |
If you are unfamiliar with checkout data, please first read the How to Work with Checkout Data guide.
Preparing Your Items
The following fields can be set as variations or item metadata for each order item:
| Field Name | Field Description |
| print_sku | Your printer’s product code for the item. |
| print_url | Link to artwork file for the item. |
| print_location | Location for artwork for multi-print items. Use print_location_1, print_location_2 to match to print_url_1, print_url_2, etc. “Front” will be used if no print_location field is added to an item. |
| Barcode | Customer specified barcode. Can be used if the barcode is already on the artwork provided. |
| Binding | Defaults to none. Options are: perfect, saddle, wiro, pur, threadSawn. |
| Folding | Defaults to none. Options are: half, gate, cross, concert, z, 2, 3, none. |
| ShrinkWrap | Enter 1 or True if the item should be shrink-wrapped. |
| StockID | Stock ID For Lookup (stock items only) |
| Tags | Enter a tag or tags for the order. Multiple tags should be separated by comma. |
| print_gift_x | Add gift notes to items using print_gift_1, print_gift_2, and so on. |
| print_note_x | If required by Pronto POD, sets the note attribute to items using print_note_1, print_note_2, and so on. |
| print_attributes_x | Add attributes to items using the format ATTRIBUTE NAME|ATTRIBUTE VALUE |
For print_url_x, values 1-8 are accepted. If you are only sending one printable artwork file to Pronto POD, you can use print_url or print_url_1.