Order Desk can send orders directly to FreightPOP then pull shipment details back into your orders here and send them to your shopping carts, if applicable.
Setup
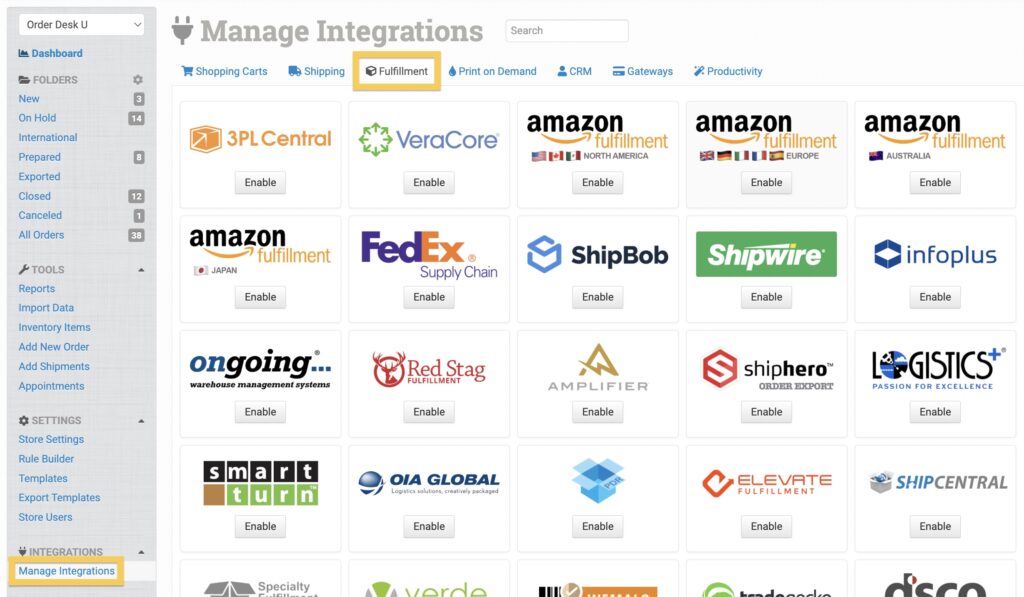
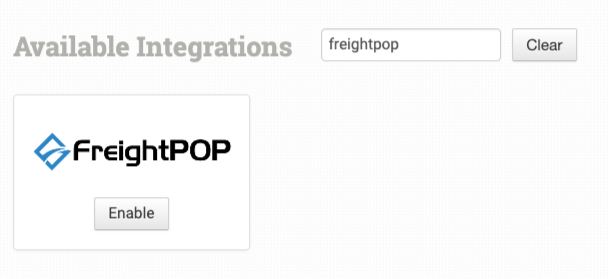
To connect to your FreightPOP account, click on Manage Integrations in the left sidebar. Under the Fulfillment tab, look for and enable the FreightPOP integration.
Once enabled, you’ll need to enter the webhook URL into your FreightPOP account to ensure that shipment information can sync back to your orders in Order Desk. Then, use your FreightPOP Username and Password to connect the integration to your Order Desk store.

Integration Settings
Once connected, you’ll have some integration settings to adjust per your preferences.
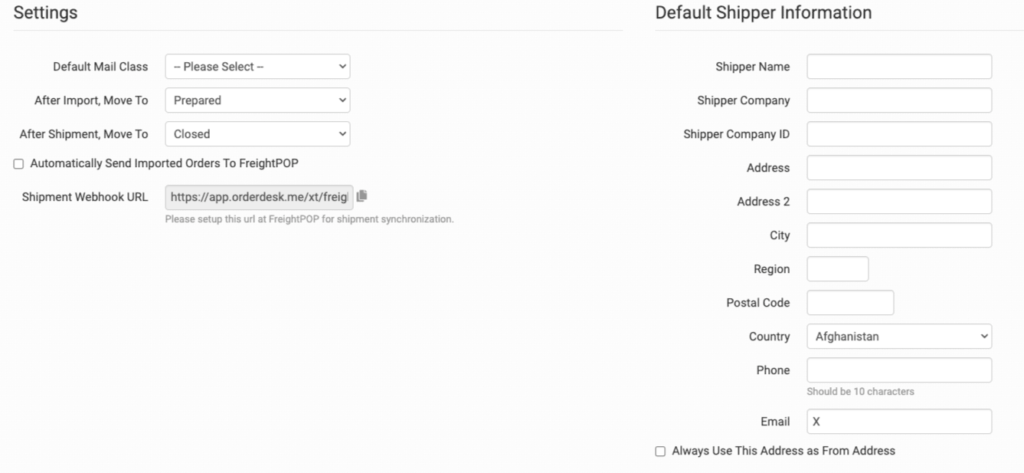
Default Mail Class
Choose the default shipping class you want FreightPOP to use for your orders.
After Import, Move To
The folder set here is where orders will move after they are successfully sent to FreightPOP.
You can choose the default Prepared folder for this, or create your own folders in your Store Settings. Read the Working with Folders guide for more information.
After Shipment, Move To
The folder set here is where orders will move after FreightPOP sends back fulfillment and tracking details.
Automatically Send Imported Orders To FreightPOP
Select this setting to import all your FreightPOP orders to Order Desk.
Shipment Webhook URL
This link should be provided to FreightPOP to ensure that your shipments can sync back to Order Desk and is the same link provided when you connect the FreightPOP integration in Order Desk.
Default Shipper Information
Set your default return address for FreightPOP to use on your order shipments.
If you need to customize the return address for certain orders, you can save different return addresses to your Store Settings and use a rule to set the return address on specific orders. If a return address is not added to the order, the default address set here in the FreightPOP settings will be used.
For information on adding additional return addresses and applying them to specific orders with a rule, read the Store Settings guide.
Product Settings

For more information on what these product settings are for and how to use them, read the Fulfillment Integration Product Settings guide.
Shipping Class Match

To tell FreightPOP what methods you want them to use, you will need to match your method names to theirs. This can be done in the shipping class match section. For detailed instructions on setting this up, please read through the shipping class match guide.
Submitting Your Orders To FreightPOP
Order Level Data
The following fields can be set as checkout data or order metadata to specify what gets sent to FreightPOP:
| Field Name | Field Description |
| Reference_x | Up to 6 (e.g. Reference_1). |
| Documents | Use one of the numerical value options found here to pass order documents. |
| OrderType | Type of order. Default is Sales Order. |
| ShipDate | Order ship date. |
| ITN | International transaction number. |
| PaymentTerm | Use a numerical value to pass a payment term to FreightPOP. Options here. |
| ReturnCompanyID | Use to override the shipper company ID upon order submission. |
| ThirdPartyAccountNumber | Passes account number only if PaymentTerm field is present with the value of 1 or 3. |
If you are unfamiliar with checkout data, please read the How to Work with Checkout Data guide.
Preparing Your Items
The following fields can be set as variations or item metadata for each order item. Replace the “x” with a value specified in the table, i.e. print_url_1 or print_url_2.
| Field Name | Field Description |
| Package_Type_x | Packing type inside the shipment. Up to x options. |
| FreightClass | Freight class for the item. Required for local shipments only. |
| PackageType | Defaults to Box. More options can be found here. |
| Description | Defaults to Item. Required for some carriers. |
| PackageId | Package ID for the item. Defaults to the order’s Source ID. |
| Height | Height of the item. Required for rating shipment. |
| Length | Length of the item. Required for rating shipment. |
| Weight | Weight of the item. Required for rating shipment. |
| Width | Width of the item. Required for rating shipment. |
| Unit | Unit of measurement for item weight. Options here. |
| UPC | Item UPC number. |
Return Address Fields
The following fields can be set as checkout data or order metadata to set the Return Address. If these fields are not present, the Default Shipper Settings will be used.
| Field Name | Field Description |
| return_name | The name for your return address. |
| return_city | The city for your return address |
| return_company | The company name for your return address. |
| return_company_id | The company ID for your return address (if applicable). |
| return_state | The state for your return address. |
| return_email | The email you’d like to associate with your returns. |
| return_phone | The phone number you’d like to associate with your returns. |
| return_street1 | The first street address for your returns. |
| return_street2 | The second street address for your returns. |
| return_postal_code | The postal code associated with your return address. |
Accessorials
Freight accessorials can be set on your orders as checkout data or order metadata. One option is to use the field name accessorial_x with an enum as the value. Enum options can be found here.
If needed, the field names below can be used instead with a value of 1 to set the accessorial:
- freightpop_DeliveryAppointment
- freightpop_DestinationExhibition
- freightpop_DestinationInsideDelivery
- freightpop_DestinationLiftGate
- freightpop_DestinationSortAndSegregate
- freightpop_Freezable
- freightpop_Hazmat
- freightpop_KeepFromFreezing
- freightpop_LimitedAccessDelivery
- freightpop_LimitedAccessPickup
- freightpop_OriginExhibition
- freightpop_OriginInsidePickup
- freightpop_OriginLiftGate
- freightpop_OriginSortAndSegregate
- freightpop_ResidentialDelivery
- freightpop_ResidentialPickup
- freightpop_PRIORITY_ALERT